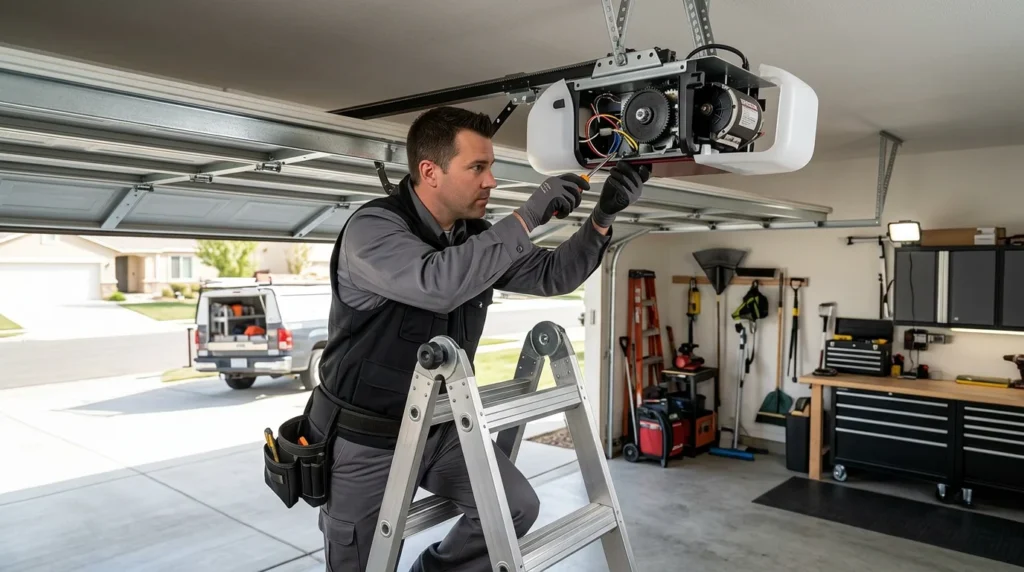
Quick answer: Many LiftMaster opener issues can be repaired when the motor still runs and the problem is limited to sensors, wiring, a worn gear, a misaligned rail, or remote/keypad setup. Replacement is usually the better call if the opener overheats, the logic board is failing repeatedly, parts are no longer available, or you want modern upgrades like rolling-code security and battery backup for occasional outages.
Fast Signs It’s a Repairable Problem
If your opener hums but the door doesn’t move, a common cause is a stripped drive gear or a loose chain/belt tension rather than a completely dead opener. A door that starts down and reverses, or won’t close unless you hold the wall button, often points to photo-eye sensor trouble: dirty lenses, bumped brackets, sun glare, or a pinched wire. Those are usually fixable without replacing the whole unit.
Intermittent operation often relates to power, wiring, or signal issues. Look for a flickering LED on one sensor, a loose wire at the terminal screws, or a wall control that feels inconsistent. In Apple Valley, strong afternoon sun hitting the photo-eyes at just the wrong angle can be a real possibility on certain door orientations, and brief power blips can also expose a weak board or capacitor. If you’re trying to decide who to call, a tech who handles liftmaster opener repair apple valley should be able to test the safety circuit, verify force settings, and confirm the door is balanced before changing opener settings.
One more clue: if the opener works with the wall button but not the remote, the opener itself may be fine. Batteries, reprogramming, a failing receiver, or LED light bulbs that cause radio interference can all mimic a “bad opener.”
Repair vs Replace Checklist and a Safety Stop Box
Use this quick checklist to decide what direction to push the conversation:
Repair is usually reasonable if: the opener runs (motor sound is normal), the door moves smoothly by hand when disconnected, the issue is clearly tied to sensors/wiring/remotes, or it’s a single wear item like a gear/sprocket or trolley assembly.
Replacement is usually reasonable if: the opener overheats (hot housing or burning smell), you’ve had repeated logic-board symptoms (random cycling, dead wall control, repeated loss of programming) more than once in a relatively short period, parts are discontinued or hard to source for your exact model, or you want feature upgrades (battery backup for occasional outages, quieter belt drive, smartphone control, newer security/rolling-code compatibility).
Stop and call a pro: if the door feels heavy, slams shut, won’t stay halfway open, or you see a broken spring or loose lift cable. Also stop if the opener runs but the trolley/rail jerks violently, the unit smokes, or you need to adjust torsion springs. Those conditions can be dangerous and can also damage a new opener if the door mechanics aren’t corrected first.
What You Can Check Before Scheduling Service
Start with the basics: confirm the opener has power, the outlet works, and the opener isn’t in “lock” or “vacation” mode on the wall control. Clean and realign the photo eyes so both indicator lights are steady, then remove any items stored near the sensors that could block the beam.
Next, test door balance (carefully). Pull the emergency release with the door closed, then lift the door by hand. A properly balanced door should stay roughly in place when opened halfway. If it slams down or feels very heavy, the springs may be the real issue. An opener struggling against a bad spring can strip gears and overheat, so spring problems should be addressed first.
Avoid cranking up force settings as a “fix.” Higher force can mask a mechanical problem and create a safety hazard. A technician should verify travel limits, safety reverse, and the door’s mechanical condition as part of any opener repair.
What to Expect From a Good LiftMaster Opener Service Call
A thorough visit usually includes checking the door’s rollers and hinges, confirming spring balance, inspecting the rail and trolley, and testing the safety sensors and auto-reverse. For many LiftMaster/Craftsman/Chamberlain units, techs commonly look for worn gears, cracked sprocket covers, slack chain/belt tension, and damaged wiring at the sensor brackets, then run basic board and control diagnostics based on the symptoms.
To make the appointment productive, report what the opener does in plain terms (for example: “closes then reverses,” “hums but won’t lift,” “only works with wall button,” “stops halfway,” or “lights flash a certain number of times”). If you can, take a photo of the opener’s model/serial label (usually on the side or underside of the motor head) and note the type of drive (chain, belt, or screw). Mention any local-use factors that might matter, like sun glare on the sensors at certain times of day or whether you’d like battery backup for occasional outages.
If you want help, AA Garage Door LLC can schedule a service call that checks sensor alignment and wiring, verifies force and travel limits, confirms door balance, and evaluates the opener’s control board behavior so you can choose repair or replacement with confidence.